
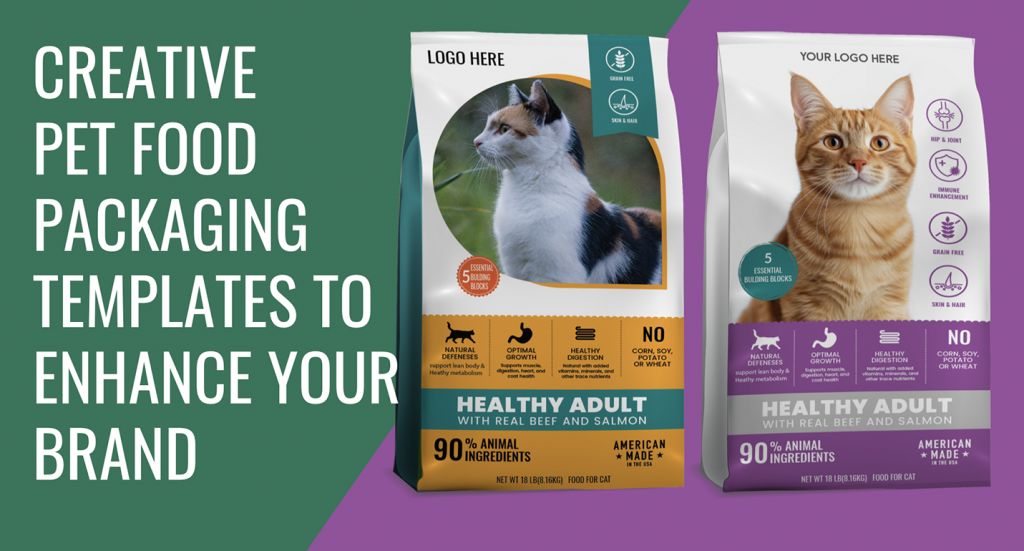
Starting a pet food business is an exciting venture with endless potential. However, with so many brands vying for attention, making your products stand out is crucial. One of the most effective ways to do this is through well-designed labels. A great label doesn’t just attract attention—it builds trust, tells your brand’s story, and distinguishes […]
23
Apr
Apr
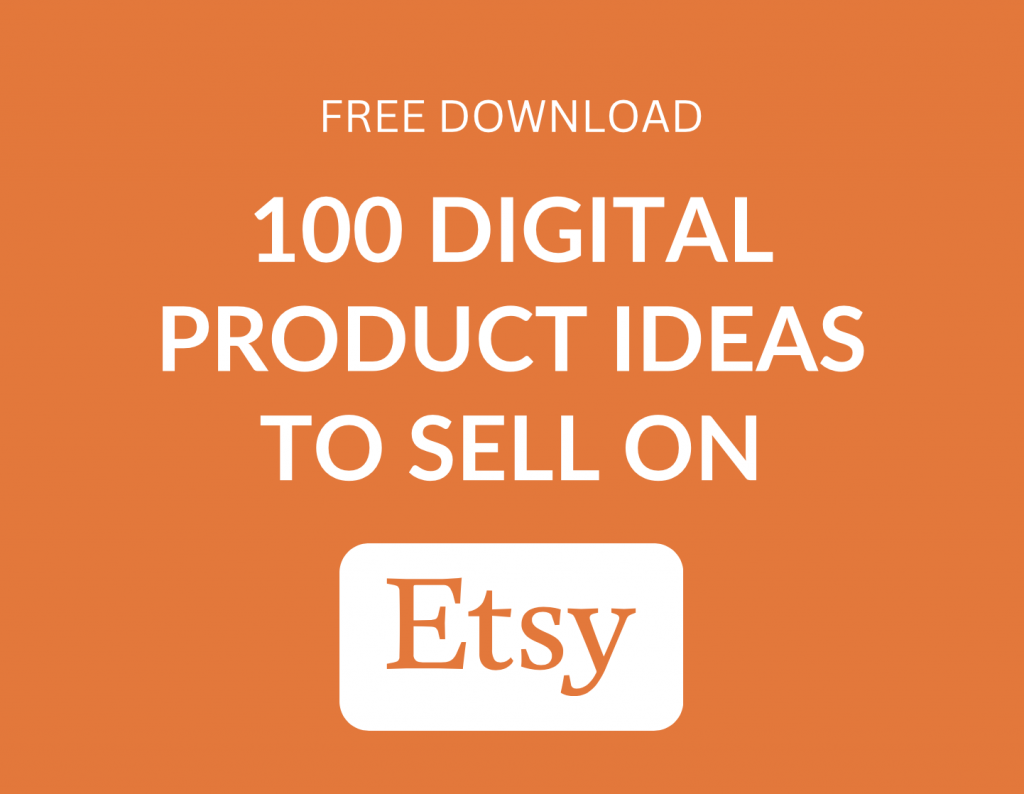
In today’s digital age, the opportunities for creative entrepreneurs are endless. With platforms like Etsy, artists, designers, and creators can showcase their talents and reach a global audience with just a few clicks. If you’re looking to start or expand your digital product business on Etsy, you’re in luck! We’ve compiled a list of 100 […]
When it comes to editing a vector file, you’ll need specialized vector editing software like Adobe Illustrator, which is the industry standard in this field. While there are alternative programs available, using them might lead to issues when opening and editing files due to potential feature disparities. For this reason, we highly recommend Adobe Illustrator […]
03
May
May
Computer Click the frame you want to add an image or video on. From the editor side panel, click Photos or Videos. If you don’t see it, click Apps first Use the search bar to look for specific photos or videos. You can also use the category buttonsbelow the search bar to explore the […]
In this tutorial, I will be demonstrating how to efficiently and easily modify your Canva templates. You will be guided on how to navigate the Canva dashboard and customize colors, texts, images, and Canva elements. Additionally, I will show you how to alter the color of every design with just one click. Using Canva templates […]
If you don’t have Adobe Illustrator software on your computer, you can download the trial version at this link: https://www.adobe.com/products/illustrator/free-trial-download.html To make sure you can use the template – Download the AI label test file before you buy the template at this link: DOWNLOAD THE TEST FILE HOW TO CHANGE THE LABEL SIZE: Method 1: Artboard Options This […]

08
Apr
Apr
As a small business owner, you are likely wearing many hats to keep your business running. However, as your business grows, you may find that you need to outsource certain tasks to ensure that everything is running smoothly. Design outsourcing services from AIWSolutions.net can be the perfect solution for small businesses that need high-quality design […]
In today’s digital age, having high-quality product images is essential for any business looking to succeed online. However, not everyone has the resources to hire a professional photographer to capture their products in the best light. That’s where custom product mock-up services come in.
13
Feb
Feb
Logo design is one of the most important aspects of creating a successful brand. A well-designed logo can convey your brand’s image, message, and values effectively, and can help set your brand apart from your competitors. That’s why choosing the right logo design service is critical.
Starting a skincare product line is an exciting venture, but with it comes the responsibility of creating a product label that accurately represents your brand and effectively sells your product. Whether you’re launching a new skincare line or rebranding an existing one, the design of your product label is crucial.
Note: How to make a full bleed PDF from Word Select File > Page Setup In the Paper Size dropdown menu, chose Manage Custom Sizes Click on the “+” sign and type a descriptive name, like “Edge to edge” Under Non-Printable Area, choose User Defined Enter zero for all margin values
see all thank you card templates at this link https://aiwsolutions.net/product-category/templates/thank-you-cards/ Select the Move Tool (v) you get a couple of options at the top: Auto Select:”Layer” and “Group”. Please choose “Layer”.Ticking Auto-Select lets you select any layer by directly clicking on them.